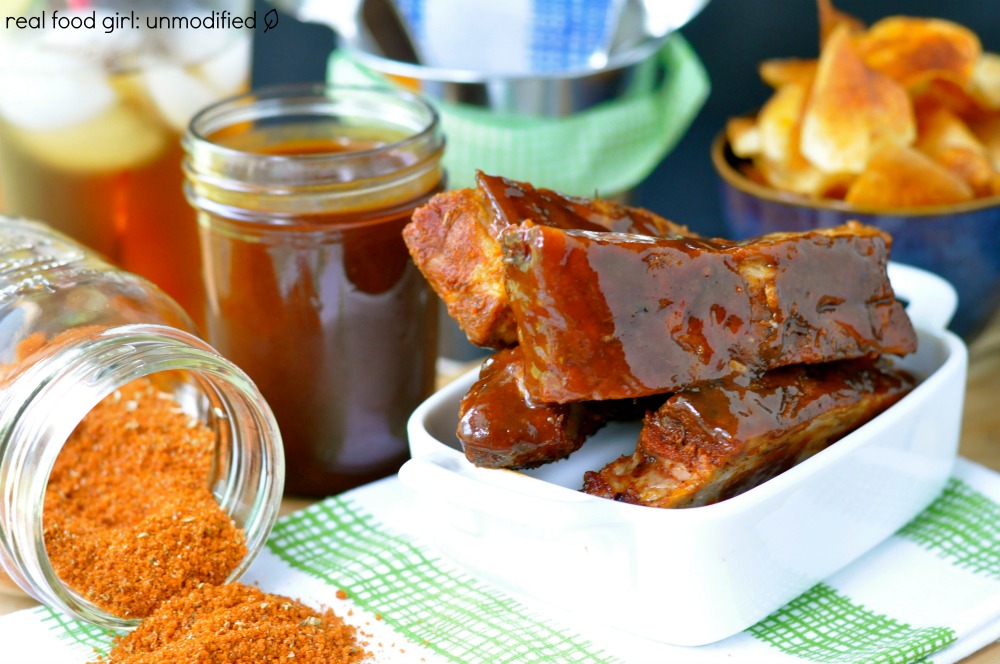
St. Louis Style BBQ Ribs on the Grill
It’s a fingers only meat buffet at Real Food Girl: Unmodified today! We’re grilling Ribs! As far as I’m concerned, ribs could easily be categorized as one of the really good things about life. Whether they’re baby back, St. Louis, Country Style or beef ribs, they are just darn tasty. I love that you don’t need silverware and it’s acceptable to get stupid-messy while eating them. I just plain love good BBQ ribs. Don’t you?
We’re either not exploring enough or we’re looking in the wrong places here in SC, because we’ve yet to find one BBQ joint that we want to “write home” about. We were told about this one place that we have to try, and The Stud Muffin and I went there a couple months ago, but they were closed. On a Wednesday. So we asked the Mighty Google Maps where the next closest BBQ joint was and we drove there. And, you guessed it. It was also closed. But this time, it was simply out of business closed, vs. just slacking off in the middle of the week. 😉 We decided to try ONE more local joint and when we got there, the building was just gone. Like invisibility cloak gone. Not there. We drove up and down the street 4 times and Siri said “You have arrived at your destination”. I almost broke Siri that day. We ended up going to a mainstay where we’ve had ribs before, but each time we go, they seem to go down in quality and low quality BBQ makes me sad.
Determined to not have another piece of food that makes me sad, I decided to start making my own ribs. We don’t yet own a smoker so I have to grill them looow and slooow, except my grill likes to cook things fast and speedy. Not a good combo for ribs, so it took a few tries and I think I’ve got a good thing going here. Each time I make these ribs, they get better.
Three things, in my opinion make a great rib:
The first is good quality, pastured meat. If you can’t afford pastured, organic meat, or you don’t have any available, try to find ribs that come from a local farm that doesn’t give the piggy’s antibiotics or hormones. Also try to find ribs that aren’t processed with a solution of bha bht and/or tbhq for freshness. There is no need to add those nasty chemicals to your meat unless you’re running a large-scale feedlot and you have sick, sad, hormone and anti-biotic riddled piggy’s. Also, try to find pork that is nitrate and nitrite free.
The second is the dry rub. It’s gotta taste good. It has to be a mixture of salty, sweet and a little bit of heat. Especially if it’s going on pork. This is MY recipe.
The third is that you have to let the rub rest on the ribs for a good hour or two so that it gets deep into the meat.
The Stud Muffin was watching Alton Brown a while back and asked me if I knew the difference between a baby back rib and a St. Louis style rib. In my head I did, but it couldn’t make it out of my mouth, so here is your Kitchen Trivia for the day:
Spareribs vs. Loin Back Ribs
Spareribs come from the belly of the hog, where bacon comes from. They are large in size (2-4 pounds or more), are very meaty, and are somewhat less tender than loin back ribs. Spareribs tend to have more fat, more flavor, and cost less per pound than loin back ribs. {This is what is referred to as the St. Louis Style Rib which are Spare Ribs with the sternum bone, cartilage and rib tips removed to create a rectangular-shaped rack} emphasis mine.
Loin back ribs come from the loin of the hog, where pork chops come from. You’ll sometimes see them called baby back ribs or loin ribs in the grocery store. They are small in size (1-1/4 to 2-1/4 pounds or more) and are less meaty, less fatty, and more tender than spareribs. Because of their smaller size, loin back ribs cook faster than spareribs. They are one of the most expensive cuts of meat from the hog due to high consumer demand.
People often use the terms “baby back ribs” and “back ribs” interchangeably. However, some in the pork industry suggest that only loin back ribs weighing less than 1-3/4 pounds per slab should be called “baby back” ~SOURCE
THIS is a great visual of where the baby back and St. Louis style ribs are located on a pig.
Alright, now that we have the schooling out of the way, let’s talk prep.
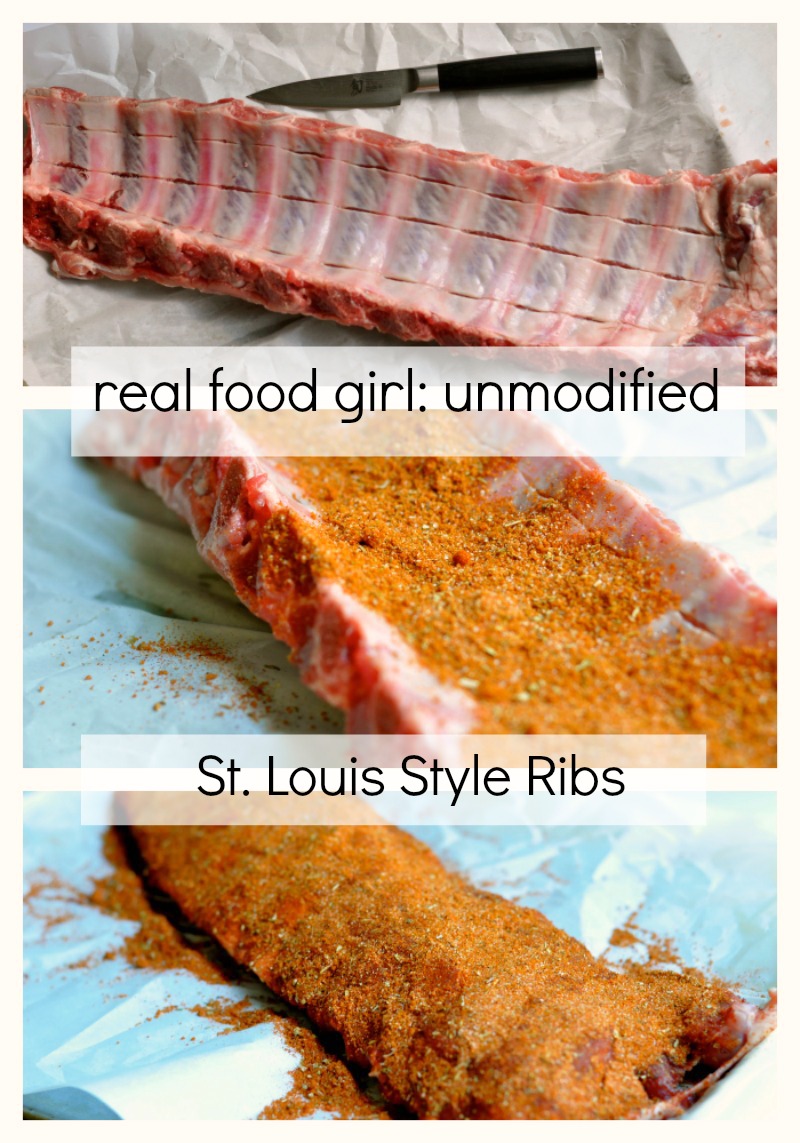
Play close attention to the image below where I show you that I’ve scored the back of the ribs. This keeps the ribs from curling up as they are grilled. Use a sharp knife and just lightly slice down into that membrane. Some people remove it all together. My thoughts on that are as follows: “Ain’t nobody got time for that!”. You guys have told me time and time again ya want quick and easy and if I can’t give you quick you want easy. Actually, in all reality it’s not all that difficult or time consuming to remove that membrane, and there are some that say it makes the ribs more tender, while others say removing it does nothing. Regardless, we’re going to save a few minutes and just leave it intact, but we’ll score it so the ribs don’t curl as they cook. OK? OK!
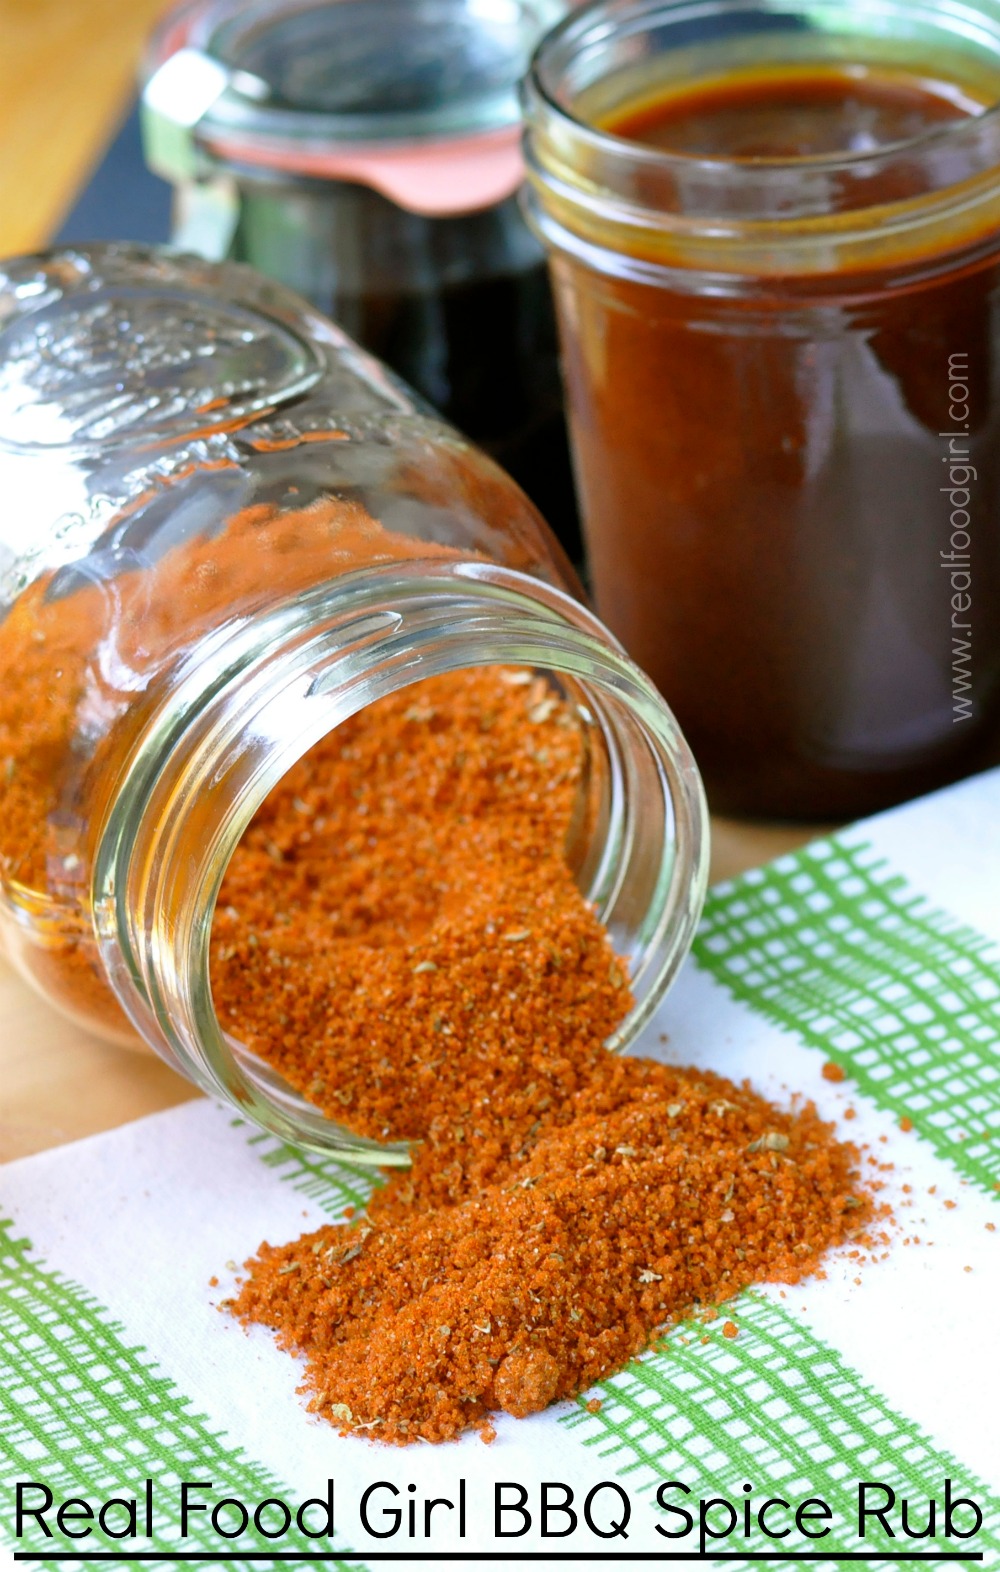
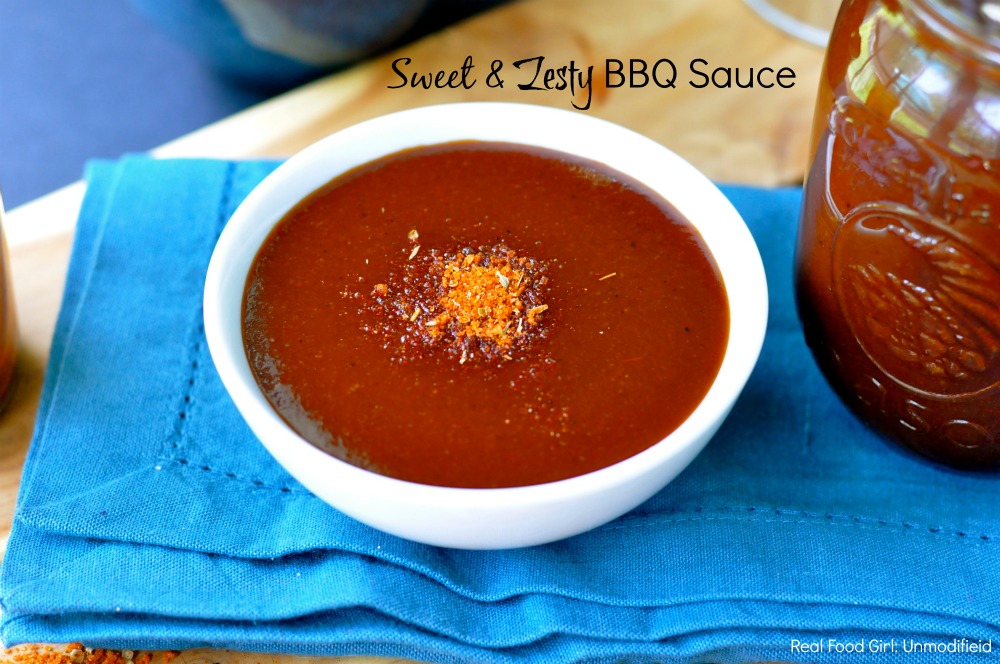
Repeat after me folks: Low and Slow. I keep my grill at about 225-250 degrees and I keep an eye on the ribs. Go higher than 265 degrees F., and the sugar in the rub will burn. A burned rub doesn’t taste good. Your ribs will be sad and charred and burnt. Bleh! Then you’ll have to call for take-out because even the dog isn’t going to want your sad, burnt, charred ribs. I baste the ribs towards the end of the cooking time so my sauce doesn’t stick to my grill and also so that the sauce doesn’t burn. Burnt sauce/burnt ribs are not yummy. You are going to need my BBQ Spice rub recipe for these ribs, you can find that HERE. You’ll also want to try my BBQ sauce recipe because it is good!!
How long they take to cook depends on your grill, how many burners you have, how often you open it, and how thick your rack of ribs are. I rarely use my thermometer when it comes to grilling ribs because they are done either when a toothpick slides between the bones without resistance or they bend 90 degrees when one half is held, OR when the meat is pulling away from the bones along the sides and you can see the bone protruding through the meat at the edges. This way you can grab the bones on either end and use them as handles when you eat each rib. Remove them from the grill and rest those bad boys on a cutting board under a tent of foil for 15 minutes.
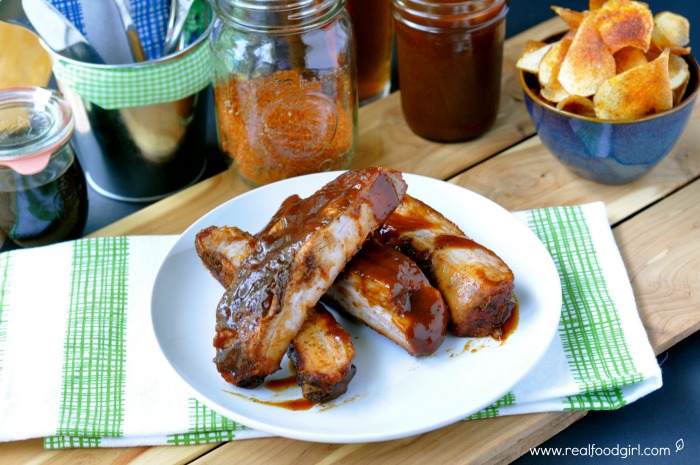
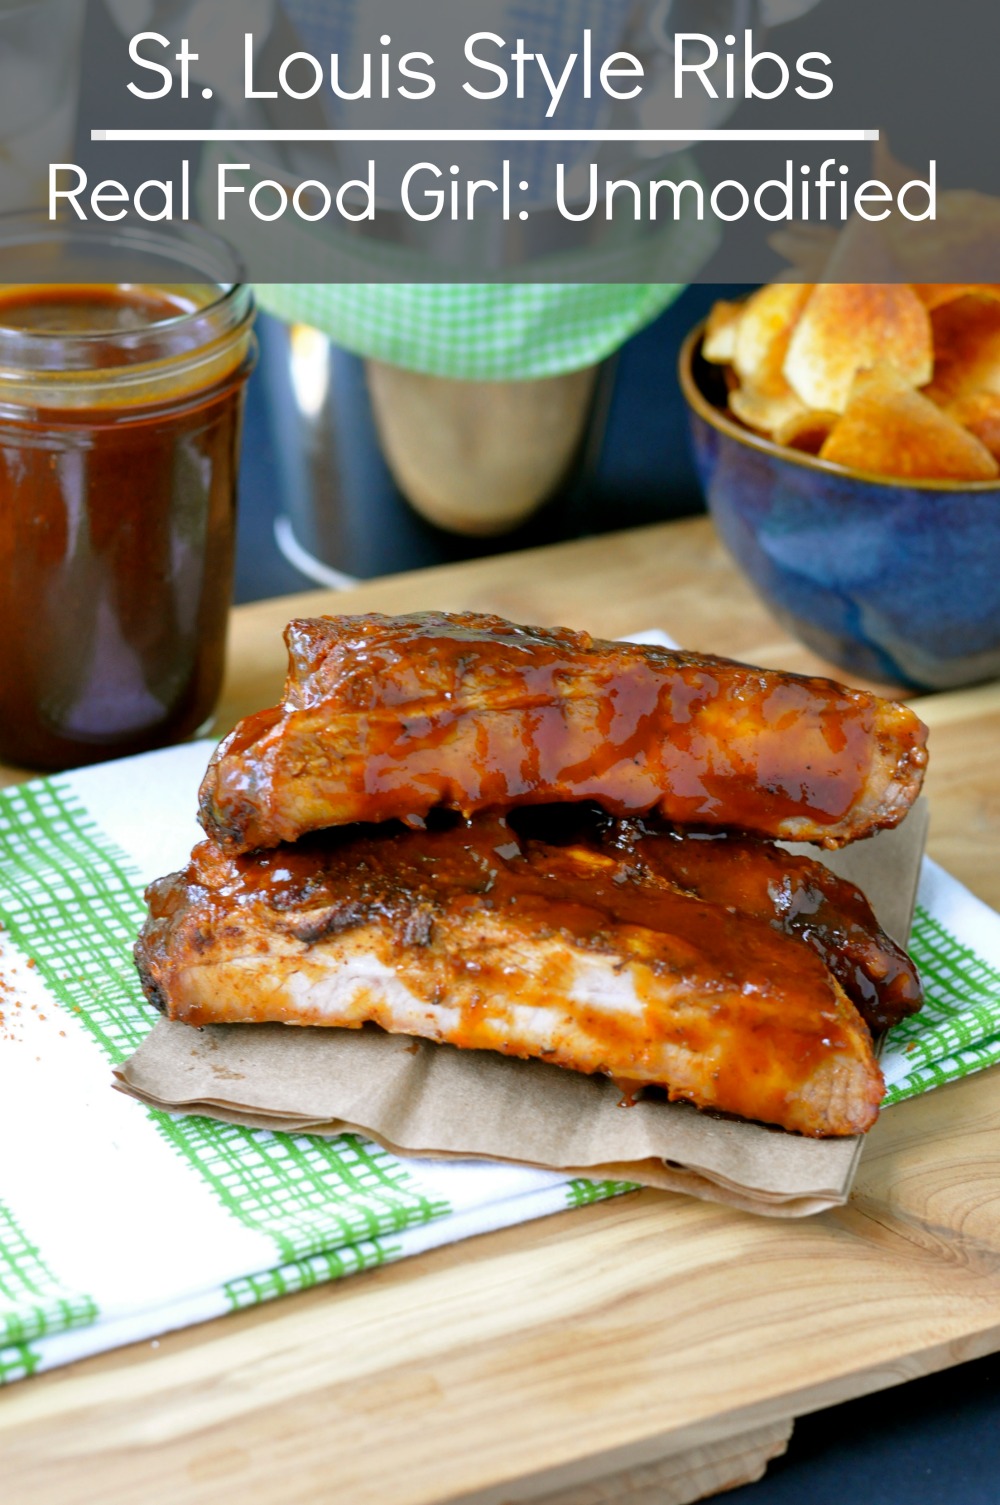
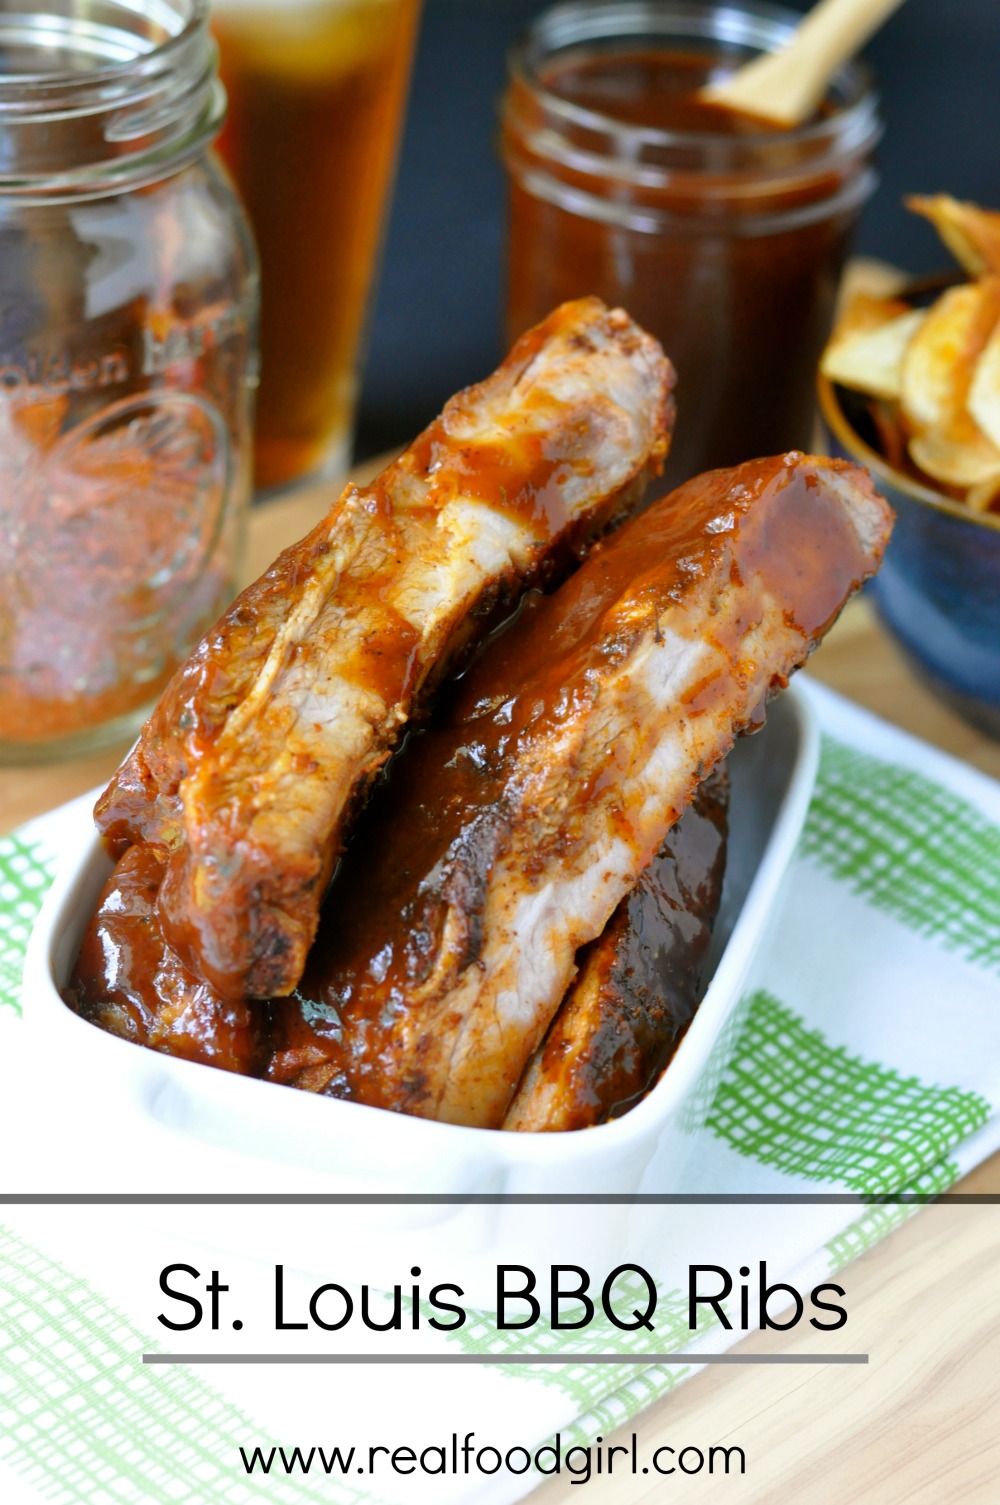
These ribs are very juicy and tender. The ribs in the photos were left overs and I cut them while cold instead of reheating them first, so they don’t look as tender as they did when we ate them fresh off the grill. I know there are SEVERAL ways to grill ribs, but this is what worked best for me. I’m still working on other recipes that involve smoke bombs (wood chips wrapped in foil to create smoke) and using foil and cider to create steam and make them even more fall off the bone spectacular.
For now, this quick and dirty version and will yield a very tender, juicy, meaty, tasty rib. I don’t stand out by my grill for the entire 90+ minutes it takes to cook these. Oh, and as far as how long it takes for these to cook is hard to nail down, because it goes by how they look. I wish I could give you a spot on amount of time, but each grill and cut of meat is different. I can get tender juicy ribs in under 2 hours at the 225-250 degree temperature range, and most websites out there say to grill them for 3-4 hours. I suppose I could try that next time, but my fear of ending up with a tough, dry, seized piece of meat coupled with going through half a tank of propane keeps me from doing that at the moment.
Not until it’s time to start putting on the sauce. So don’t feel like you have to babysit these puppies. You can go back in the house and work on making some amazing sides, like baked beans or creamed corn or grilled taters. Just check on them every 10 minutes or so. Or, if it is a beautiful day out, grab a book, pull up a lawn chair, pour some homemade lemonade and camp out near the grill and enjoy some fresh air.
What is your favorite way to make ribs?

- One recipe of my BBQ Spice Rub
- 2 racks of St. Louis style pork ribs
- One recipe of my Zesty BBQ sauce, or another sauce of your choosing
- 1 cup organic apple juice for spritzing/basting
- Score the back side of each rack of ribs. Once scored, liberally apply my dry rub spice mixture to the front and back of each rack. Rub the mixture into the meaty part of the ribs as best as you can.
- Place the ribs on a parchment lined baking sheet and refrigerate for 1-2 hours minimum, so they soak up that rub and get nice and seasoned. Sometimes I let mine rest in the fridge, lightly covered with plastic wrap for 6-8 hours. The longer they rest with that rub, the tastier they'll be. We're not salting these ribs at all, so don't skip this part.
- Remove your ribs from the fridge at least 30 minutes before you grill them. You want them as close to room temp as possible before they hit the grill.
- Roll up an old kitchen towel and dip it in some coconut or olive oil. Using a set of tongs, rub the oil-soaked towel along the grates of your grill. This will ensure your ribs don't stick. Start at the back and rub towards you (the front of the grill) so flareups happen BEHIND your hand not ON your arm.
- Preheat your grill.
- Once it's nice and hot (500-600 F) do the following: If you have three burners, turn off the middle one. If you have two, like we do, turn off one and leave the other one on. You will be cooking these ribs via indirect heat. I have gas grill so this is how I do 'que in my hood.
- You want your grill temp to be between 225-250 F before you place the meat on the grill.
- Brush off any of the spice rub that is still dry and sitting atop the ribs. If it hasn't soaked in, it never will.
- Place the ribs, bone side down on the grate where the heat is turned off. If you have three burners this is the middle, if you have two, it's over the burner that you turned off.
- We start bone side down so that we don't over cook the meat. I only turn the ribs once it's time to start saucing them, which is about 30 minutes before they're done.
- Cook your ribs at 225-250 degrees for about 90 minutes up to 3 hours. *see notes
- 30 minutes before the ribs are finished cooking, you can start basting them with BBQ sauce, turning every 7 minutes, and basting the other side, OR just keep cooking and add the sauce right before you serve them.
- The ribs are done either when a toothpick slides between the bones without resistance or they bend 90 degrees when one half is held, OR when the meat is pulling away from the bones along the sides and you can see the bone protruding through the meat at the edges.
- Remove from the grill and set on a cutting board with a big piece of foil tented over the meat. Let the ribs sit for 15 minutes. NO EXCEPTIONS. Add (more) sauce if desired and cut them into sections with two ribs per piece.
- Serve and enjoy!
- I have never owned a charcoal grill so you'll have to Google how to grill ribs on a charcoal grill because I haven't the foggiest. 😉
- *If your ribs start to look dried out as they are grilling, spritz them with some organic apple juice. Basting them with spritzed apple cider will add flavor and make them even juicier.
PAID ENDORSEMENT DISCLOSURE: In order for me to support my blogging activities, I may receive monetary compensation or other types of remuneration for my endorsement, recommendation, testimonial and/or link to any products or services from this blog.

One Comment
Pingback: