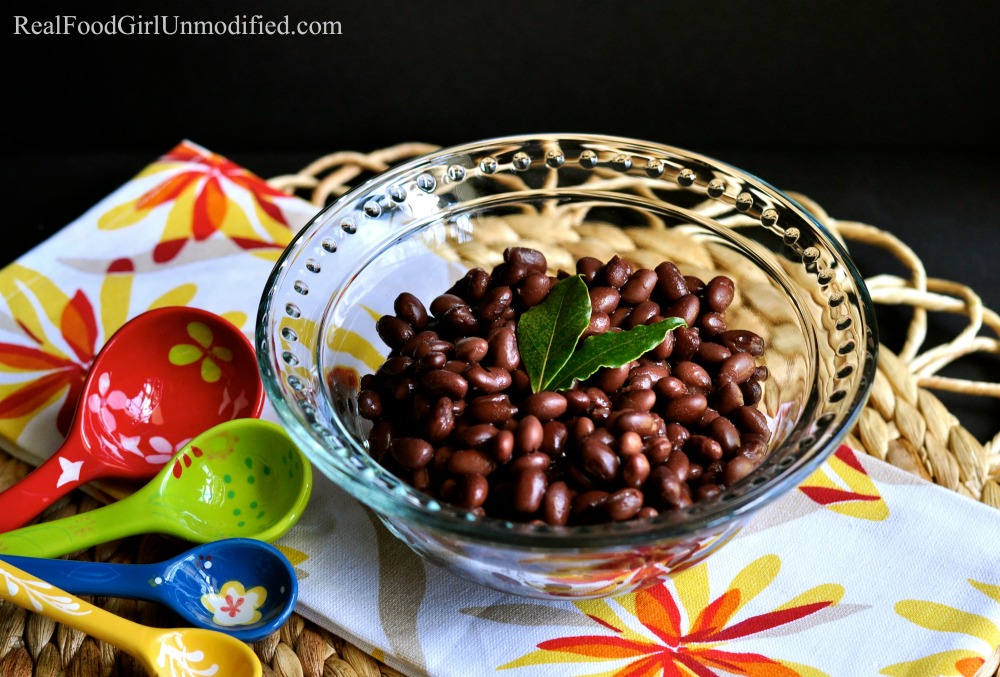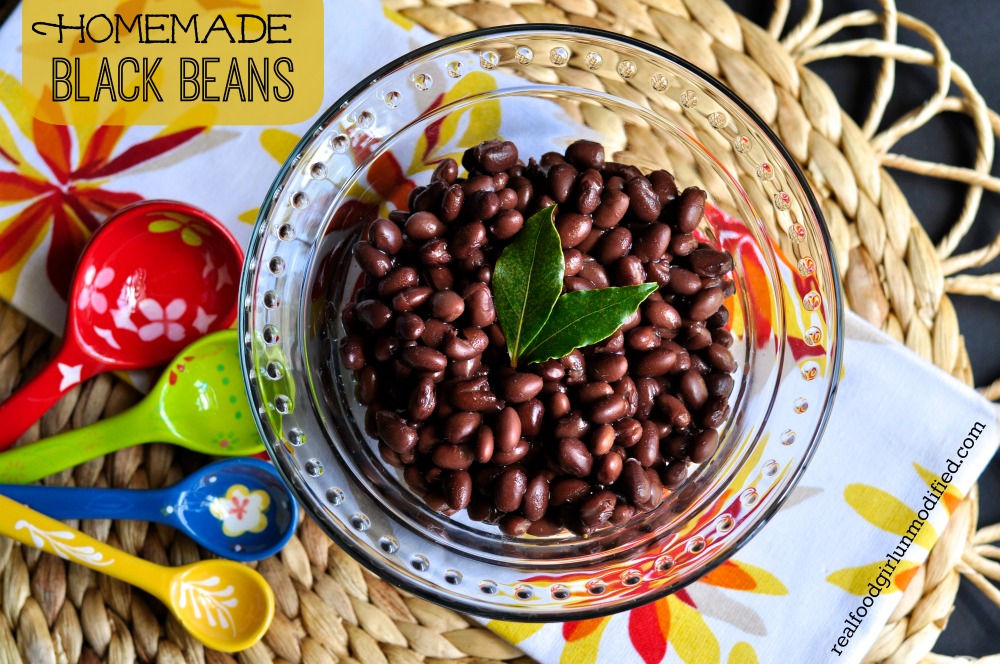
How To Make Black Beans- So You Don’t Have to Buy Canned
This post has bean a long time coming. <— Ha! See what I did there? All puns aside, I love dried beans and they are so easy to prepare. I do enjoy the convenience of canned beans and there are some decent organic brands out there, yet there is something to be said about preparing them from scratch.
I’ve been trying to use fewer canned items and because they are cheap and basically low maintenance in the preparation department. I thought I’d share with you how to make your own beans so that you can use them in other dishes such as my Skillet Tamale Pie or you can add them to my taco meat for an even yummier taco salad or throw in some rice and make it a burrito bowl!
There are two schools for making beans.
- Beans must be soaked
- Beans don’t have to be soaked
I’ve made them both ways. (Gasp!)
Many people believe that the main reason to soak beans is to minimize gas, and while it’s true that soaking does help to remove the indigestible complex sugars (oligosaccharides) from the outer coating of the beans, rendering them easier for us to digest, it’s certainly not the primary reason to soak in my professional/chef opinion. Probably the most important reason for soaking is that lessens the cooking time which preserves more nutrients, so you get the benefits of all the proteins, vitamins and minerals in the beans.

Seeing that I’m all about getting as many nutrients as I can from my beans, we’re going to soak these first. Take a sheet pan and sprinkle your dried beans onto the pan in a single layer. Sift through with your hands and remove any pebbles, disfigured beans or anything else that doesn’t belong there. I rarely find pebbles any more, but it’s happened. Once sifted, place the beans in a large glass bowl. I typically soak 1 cup of beans at a time. Soak the beans in 4-5 cups of cold water for 6-8 hours, or overnight. I change the water and rinse the beans 2-3 times while they are soaking. Once the time is up, drain all the water from the bowl and set your beans aside while you prep a few ingredients so you can cook your beans.
In a 3-quart saucepan measure 2 cups of chicken stock or veggie stock (homemade please) and 2 cups of cold water. To that saucepan add your beans, 1 tsp. sea salt, 1 bay leaf and one clove of garlic- peeled and smashed. Bring to a boil. Reduce heat to low and continue to simmer the beans over low heat for 15-30minutes. Check them after 10 minutes and cook in 5-minute intervals, removing a bean or two and tasting for doneness. I’ve had soaked beans take 10 minutes and I’ve had them take 30- it’s a gamble, so keep an eye on them. It also depends if you like a little ‘bite’ to your beans like we do, or if you prefer them mushy, like canned beans.

When your beans have reached your desired level of doneness, drain them, then add them to a bowl with a tsp. of olive oil and toss them to coat each bean so they don’t stick as they cool or while they are stored until you are ready to use them. You can refrigerate the beans for up to 2 days before you should eat them. You could go 3 days, but I don’t like to press much luck with ready to eat foods.
These beans should have good flavor and will be a wonderful addition to any dish. I will sometimes add cumin, oregano and a few Tablespoons of my garden fresh homemade salsa to the beans as they are cooking if I know the beans will be going into a Mexican or Southwestern dish. Sky is the limit!
I know I just explained how to make these beans in the post above, but so that you have something to print, I’ll include a recipe card version as well. Happy bean making.
Please note that the 8+ hour prep time is for soaking your beans. It doesn’t actually take 8+ hours to make the beans. We call this inactive prep time because you aren’t really doing anything active while your dish “preps”.


10 Comments
Donna
love your colorful measuring spoons, going to make those beans today
Kristine Cocchiarella
Thank you! I bought those at World Market. Enjoy the beans!!
Pingback:
Pingback:
Pingback:
Jedha
I LOVE making beans from scratch. For some reason they just taste so much better
Virginia
These sound great, will be making a large batch soon. Do you also recommend doing the cooking one cup at a time as well? Also with the freezing, when it comes to reusing do they need to be fully defrosted first?
Thanks
Kristine Cocchairella
You can cook as many cups as you want at one time, just make sure you pay attention to the liquid to bean ratio. I only typically do one cup as it is only the two of us. As far as needing to be fully defrosted, I think it depends on what you would be using them for. If you were using them in a dish, I’d defrost them, so you could mix them in. At least defrost them enough so they break apart from one another. If you’re just going to reheat them and eat as is, you could put them in a pan frozen and cook covered over very low heat, stirring occasionally.
Tara
I love black beans and love stocking my freezer with them. Your photos are gorgeous!
Kristine Cocchairella
Thank you so much, Tara! They are one of my favorites, too!!